I showed you part one of my 2 year old's toy storage last week- putting the shelf up. But today I will show you what I put on the shelf.
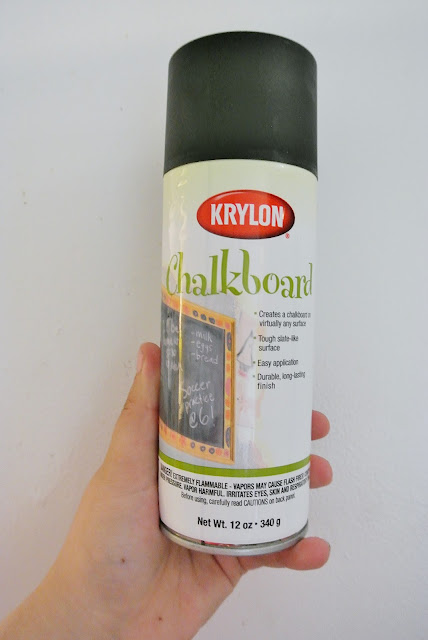
First, I bought some crates from Michael's (I think they were $5.99 each). I forgot to take a picture of them before I painted them, sorry, I'm new at this blogging thing and don't always remember to photograph every step. Anyways, I bought five small ones and one big one; I painted all six crates orange. I also picked up some little pre-cut/designed wood pieces (I'd say they are about 2" thick) with plans of painting them with chalkboard paint. Here they are before I painted them (shown are three for C's room and three I picked up for A's room, though I haven't actually done anything with A's yet).
I did a quick hand sanding to make sure that there were not any pieces of wood sticking out
I wiped that off with a damp cloth and waited a few
At this point I also glued on the black "C" I found at Michael's. It's not a chalkboard, though it looks like one. I've been thinking about painting that bad boy 'C' brown, to match the rest of his room, though it would no longer match the black/orange that's going on in his closet.
As you can see, I already had it loaded up with MegaBloks, clearly I have no patience! After everything was glued on and toys were loaded up into the correct crates, it was done-zo! Well, other than the fact that I am still waiting to come across two more of the little rectangles for the last two crates.
"sigh", I just love it.
Happy Monday!


LOVE these labels! And the orange! Perfect! XO, Aimee
ReplyDelete